You know how sometimes your solar lights don’t shine as bright or last as long as they should?
Well, most of the time it’s just the batteries acting up.
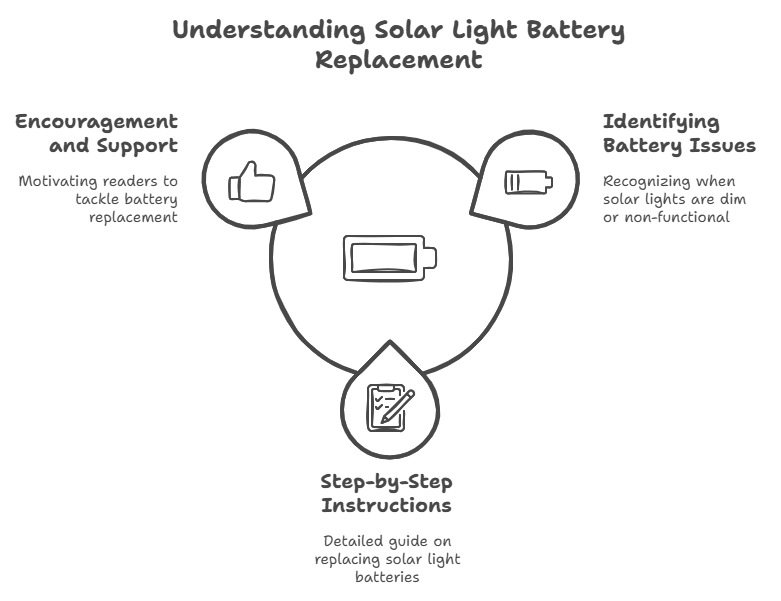
If the idea of changing them yourself sounds a bit intimidating, don’t sweat it—I’m here to help!
I’ll guide you through every step of replacing your solar light batteries.
We’ll check if the batteries are the problem and then I’ll show you how to swap out the old ones for new ones.
Just follow along with me, and we’ll get your outdoor spaces shining bright and welcoming again soon!
Key Takeaways
- Solar light batteries need replacing when brightness fades or lights don’t last long despite sunny days.
- Battery lifespan decreases with use, reducing their ability to hold a charge effectively.
- Testing batteries in another working solar light helps confirm if they’re the issue.
- Replace batteries in a clean, dry area to protect your light’s internal components.
- Always recycle old batteries properly to prevent environmental harm.
When to Replace Your Solar Light Batteries?
1. Dimness After Full Recharge

Your solar lights soak up sunlight during the day and store this energy in batteries to keep your yard bright at night.
Ideally, this should give you steady and bright light every evening.
But over time, you might notice that the lights aren’t as bright or they don’t last as long as they used to, even after a full day in the sun.
So, what’s causing this?
Well, every rechargeable battery has a lifespan, which is measured in charge cycles.
That means how many times you can charge and use up a battery.
As your solar light batteries go through more and more of these cycles, they can’t hold as much energy as they used to, and that leads to dimmer lights or lights that switch off too soon.
But there’s more to it.
Batteries can also just wear out.
Even if your solar panel is doing a great job turning sunlight into electricity, an old or worn-out battery might not be able to store that energy well, making your lights look weak.
Plus, as batteries get older, they tend to lose their charge quicker.
This quick drain means your fully charged batteries might run out of juice faster than expected, leaving your lights out long before the night is over.
If you’re seeing these kinds of issues, it’s probably a good time to give your batteries a check and maybe swap them out for new ones.
2. Inoperability in Alternate Solar Light Units
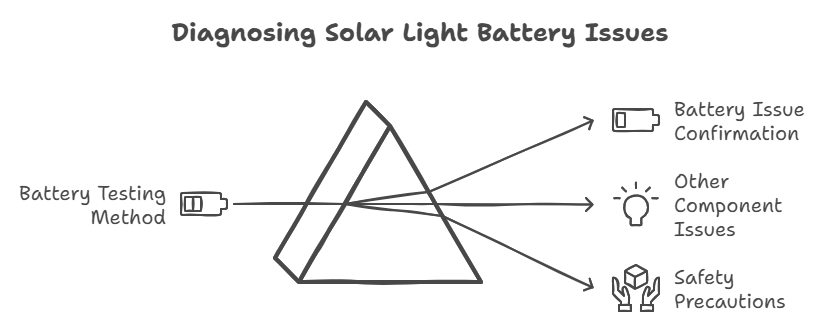
Here’s a nifty trick to see if it’s time to change the batteries in your solar light: swap them into another light that you know works well.
It’s pretty simple—just take the batteries from the light that isn’t working right and put them into a light that’s been reliable.
If the light that normally works fine starts acting odd—like it dims quickly or doesn’t turn on at all—then you can bet the batteries are the issue.
This method is great because it helps you rule out problems with the solar panel or LED bulb.
You can be pretty sure it’s just the batteries that need replacing.
Just a quick safety reminder: always turn off the lights before you open the battery compartment to avoid any accidents.
Be careful not to touch your face or eyes when you’re handling the batteries, and once you’re done testing, remember to put the batteries back where they came from.
If they’re worn out, ensure to dispose of them the right way to keep things eco-friendly.
What Are the Steps for Replacing Solar Light Batteries?
Step 1: Set Up Your Solar Light in a Clean, Dry Space
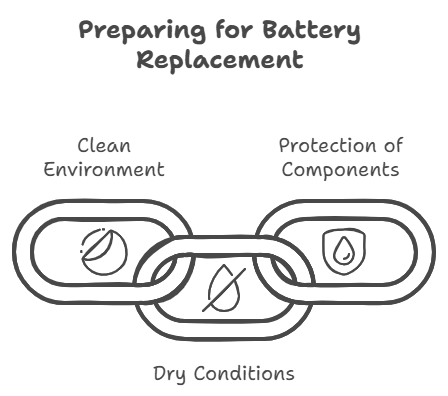
If you’re ready to swap out the batteries in your solar lights, all you’ll need to do is set up the right spot to work.
Finding a clean and dry place is key.
A clean workspace means you won’t lose any little parts like screws when you take apart the light.
It helps keep everything organized and makes the whole process of changing the batteries quicker and easier.
But why keep it dry?
Well, even though your solar lights are made to handle the weather outside, the inside parts don’t like getting wet.
If moisture gets in, it could cause short circuits or even rust the metal components.
And trust me, fixing that can be a real headache or sometimes, it might not even be fixable at all.
Step 2: Turn Off the Light and Access the Battery Compartment

After you’ve got your workspace ready, the next thing to do is turn off your solar light.
It’s a quick step, but it’s important for safety.
Even though solar lights aren’t big power guzzlers, turning them off ensures you won’t get any sparks or run into any short circuits while you work.
Now with the light off, you can get to the battery compartment.
How easy or tricky this is depends on the design of your solar light. Some of them have covers that just slide or twist right off.
Easy-peasy!
But others might be screwed on, which means you’ll need a screwdriver to get them open.
And here’s a little tip for when you’re opening up the compartment: be gentle.
You don’t want to damage anything inside or the casing itself.
If your light does have screws, keep them in a small dish or a cup as you go.
This will save you from losing them and make it a breeze to grab them when it’s time to screw everything back together after you’ve swapped out the batteries.
Step 3: Examine the Existing Battery

Now that you’ve got the battery compartment open, let’s check out those batteries.
First off, see what type they are.
Are they the usual AA or AAA, or something a bit fancier like NiCd (Nickel-Cadmium), NiMH (Nickel-Metal Hydride), or Lithium-ion?
It’s good to know exactly what you’re dealing with because you’ll need this info when you go to buy replacements.
While you’re at it, take a look at the voltage and capacity—these details are usually printed right on the battery itself.
This step ensures the new batteries you pick up will fit perfectly with your solar light and keep it running smoothly.
Next, give those batteries a good once-over for any signs of wear, like leakage, bulging, or rust.
These are warning signs that your battery might be on its way out.
If left unchecked, a failing battery doesn’t just dim your lights—it could also damage other parts of the light.
One last thing before you close up: notice which way the batteries are facing.
Check out the positive (+) and negative (-) ends and remember their orientation.
This is important because you’ll need to pop the new batteries in the same way.
Step 4: Swap Out the Old Battery for a New One
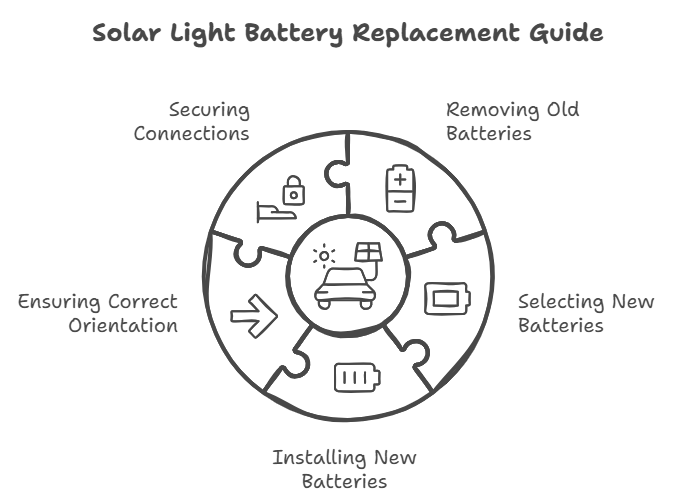
Now, it’s time to put in the new batteries.
First, let’s get those old ones out.
Depending on the design of your solar light, you might need to gently shake it or give it a little tug to free the batteries.
Once you’ve got the old batteries out, take a moment to grab the new ones.
Before you pop them in, double-check that they match the old ones in both size and type.
If they don’t match up, it’s better to hold off and grab the right ones next time you’re out shopping.
Using the wrong batteries can cause all sorts of headaches, messing up how your light works or even causing damage.
Got the right batteries?
Awesome!
Remember how the old batteries were sitting in the compartment?
It’s important to put the new ones in just the same way.
Ensure to line up the positive (+) and negative (-) ends correctly.
Getting this mixed up can stop your light from working right or cause other troubles.
Slide those new batteries into place and ensure they fit snugly and that all the connections look solid.
Step 5: Turn On the Solar Light to Check the New Battery

Let’s see now if your hard work has paid off.
Many new batteries have a bit of charge right out of the box, so you might get to test your solar light right away.
Just flip the switch to turn it on.
Remember, most solar lights are set to automatically come on in the dark, so you might need to cover the solar panel with something like your hand or a piece of cloth to trick it into thinking it’s nighttime.
If your light comes on bright and clear, you’ve nailed it—great job!
But if it doesn’t light up, don’t sweat it just yet.
It might just mean that the new batteries haven’t had a chance to charge up fully.
If that’s the case, let your solar light sit out in the sun for about 4-5 hours to charge up the batteries.
Then, give it another go. If it lights up well, you’re all good to go, and your outdoor space should be nice and bright again.
But if your light still isn’t working after a good charge, there could be another issue, maybe with the solar panel or the LED bulb.
If you get to this point, it might be a good idea to call in some help—either touch base with a pro or reach out to the customer service where you bought your solar light.
They should be able to help you figure out what’s going wrong.
Step 6: Dispose of the Old Batteries Responsibly

Finally, there’s just one more thing to do—take care of the old ones.
Remember, it’s not a good idea to just throw them in your regular trash.
Batteries are not like your everyday waste; they contain harmful chemicals like cadmium that can do some real damage to our environment.
If they end up in a landfill, these chemicals can leak into the soil and water, harming wildlife and even affecting our health.
So, what’s the best way to dispose of them?
The most responsible thing to do is to take your old batteries to a local recycling center.
They’re equipped to handle them safely so that none of those nasty chemicals cause any trouble.
If you don’t have a recycling center close by, no problem!
Many stores like Home Depot or Best Buy have special bins just for recycling batteries.
Just drop them off next time you’re there, and you’ll be doing your bit to keep our planet clean.
FAQs
How to Change Battery in Solar Post Light?
To change the battery in the solar post light, turn off the light, open the battery compartment, and remove the old batteries. Insert new, compatible batteries, ensuring the correct polarity (+/-).
Is It Worth Replacing Rechargeable Batteries in Solar Lights?
It’s worth replacing rechargeable batteries in solar lights as this can restore brightness and extend the life of your solar lights, making it a cost-effective fix.
Can I Use Regular AA Batteries in My Solar Lights?
You can’t use regular AA batteries in your solar lights as regular AA batteries are not rechargeable and may damage the lights. Use rechargeable batteries specifically designed for solar lights.
How to Fix Outdoor Solar Lights That Stop Working?
To fix outdoor solar lights that stop working, clean the solar panel, replace old batteries, and ensure the light gets adequate sunlight. If issues persist, check for faulty wiring or contact support.
Conclusion
And that’s how you do it!
We’ve gone through spotting when your solar light batteries need changing, how to swap in new ones, and how to properly get rid of the old ones.
If you ever get stuck or just want a little more info on anything we’ve talked about, don’t hesitate to leave a comment right here.
Our team of friendly solar light experts is always on standby to give you the advice and tips you need to keep your outdoor lighting in tip-top shape.

