Just like any outdoor gear, your solar lights need a little TLC to keep them shining bright.
Sealing them upright is a big part of that care. It keeps out the rain and dirt that can mess them up.
So, how do you seal your solar outdoor lights to keep them bright and long-lasting?
Well, you’ll need to grab some strong outdoor-grade silicone sealant and ensure you cover all the nooks and crannies where moisture and debris could sneak in.
I’m here to guide you step by step on how to do this effectively.
We’ll go through everything you need to know to make sure your solar lights are well-protected from the weather, helping them last longer and work better.
Key Takeaways
- Sealing solar lights protects them from rain, dust, and debris, helping them last longer and shine brighter.
- Apply outdoor-grade silicone sealant to seal all seams and gaps, creating a waterproof barrier against moisture.
- Regularly trim nearby plants to ensure solar panels receive optimal sunlight for efficient charging.
- Clean solar panels and light fixtures periodically to remove dirt and maximize brightness.
- Inspect batteries for corrosion and replace them with NiMH batteries for longer-lasting eco-friendly power.
Why Is It Important to Seal Solar Lights?

It is important to seal solar lights because it helps keep them safe from rain, dust, and little bits of dirt.
If that stuff gets inside your lights, it can mess them up, making them dimmer or even stop working.
Sealing them up is like giving them a little armor against the elements.
This way, they last longer, stay brighter, and you won’t have to replace them as often.
Plus, they’ll do a better job of lighting up your yard or path.
What Are the Best Practices for Maintaining Solar Lights?
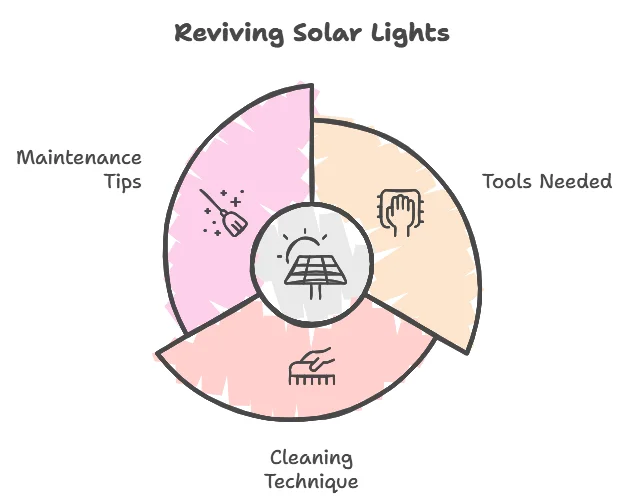
Keeping your solar lights in tip-top shape is pretty straightforward and can make a big difference in how well they light up your yard.
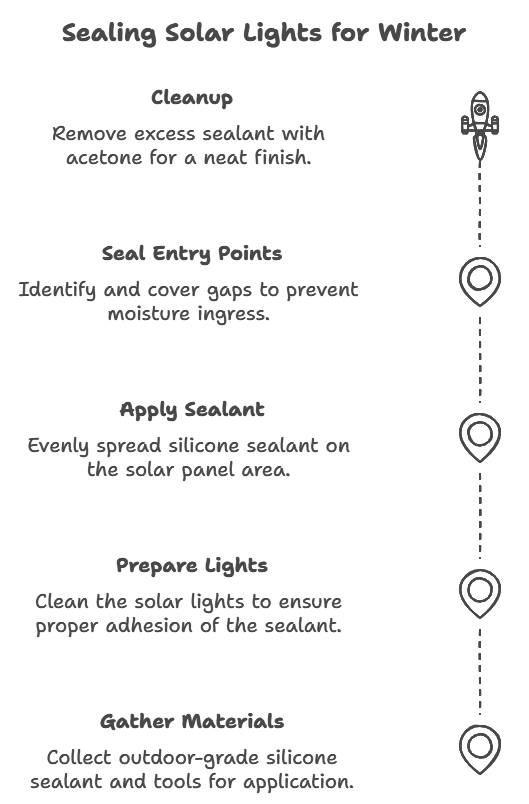
First, gather up everything you need: some outdoor-grade translucent silicone sealant to block out moisture, a brush or a polythene bag for spreading the sealant, and a few cotton buds soaked in acetone for any clean-up you might need to do afterward.
Before anything else, ensure your solar lights are clean and dry.
This is important because any dust or moisture can stop the sealant from sticking properly, and that could weaken your whole setup.
A good, thorough clean make sure the sealant will hold tight.
Now, grab your brush or polythene bag and get that sealant on there.
Pay special attention to the top part of the light, especially around the solar panel.
You’ll want to spread the sealant nice and evenly, making sure not to cover any part of the light or panel that needs to be exposed to work right.
This step keeps everything looking neat and working well.
Check for any tiny gaps or holes where the parts of the light come together—those are spots where moisture could sneak in and cause some trouble.
Seal those areas up well to keep the water out and protect the light’s inner workings and the solar panel.
And if you end up with a bit of a mess from the sealant, no worries at all.
Just grab those cotton buds dipped in acetone and clean up any spills.
The acetone is great for this because it can remove the sealant without harming your light.
Doing these things regularly will help your solar lights last longer and keep your outdoor spaces bright and welcoming.
Simple steps like these can extend the life of your lights and save you from having to replace them too often.
How to Maintain My Solar Lights?
1. Trim Surrounding Trees and Bushes Regularly
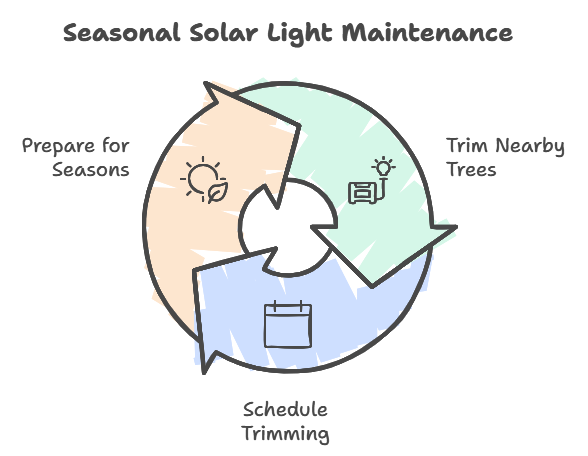
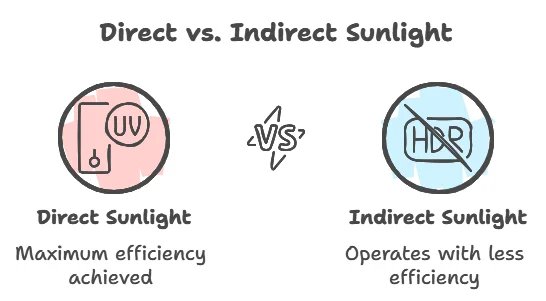
You see, solar lights need a lot of sun to charge well and brighten up your yard or garden.
But if trees or bushes start to grow too much around them, they can block out the sunlight, and your lights won’t charge as effectively.
What I find works best is to keep a regular trimming schedule.
I like to trim back any overhanging branches or bushy growth around my solar lights in the spring and fall.
This way, they’re all set to make the most of the long summer days when they can soak up lots of sun, and they’ll still perform well during the shorter, dimmer days of winter.
2. Carefully Clean the Solar Panels
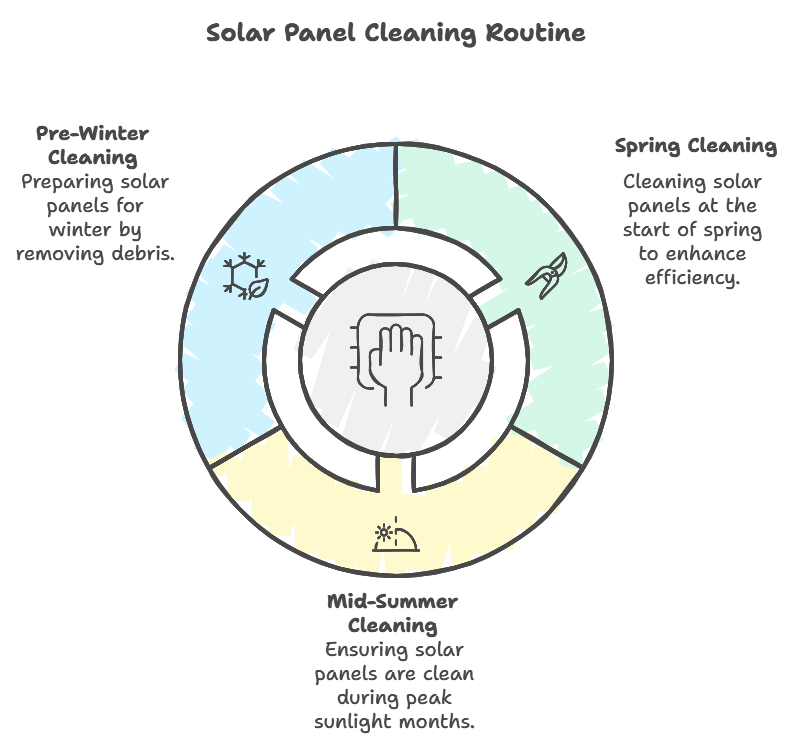
Over time, things like dirt, dust, and even bird droppings can build up on the panels.
This gunk can block the sunlight that’s crucial for charging your lights.
So, to keep them bright and functional, you’ll want to wash those panels regularly.
The best way to clean them is simple: just take a soft cloth or sponge and some lukewarm soapy water.
It’s important to steer clear of any harsh chemicals or rough scrubbing tools that could scratch or damage the panels.
I make it a point to clean my solar panels about 2-3 times a year.
I find that doing this at the start of spring, mid-summer, and just before winter begins is the perfect schedule.
3. Clean and Maintain the Light Fixtures and Globes

Just like you keep an eye on the solar panels, it’s important to take good care of the fixtures and globes on your solar lights too.
These parts are key for ensuring the light spreads out nicely, and if they get all grimy or covered with stuff like spider webs or leaves, they won’t work as well.
Luckily, cleaning them is a breeze and much the same drill as cleaning your panels.
Just take a soft, damp cloth and gently wipe off any dirt or debris you see.
I always make it a point to check and clean the fixtures and globes whenever I’m doing the panels.
Doing it all together saves time and keeps everything working smoothly.
And here’s a little tip: while you’re cleaning, take a quick look for any signs of wear or damage.
If anything looks beat up or broken, swap it out with a spare part right then and there.
I keep a few extras on hand just for this reason.
It helps avoid any big interruptions and keeps your solar lights ready to glow without any fuss.
4. Check the Solar Lights for Any Damage
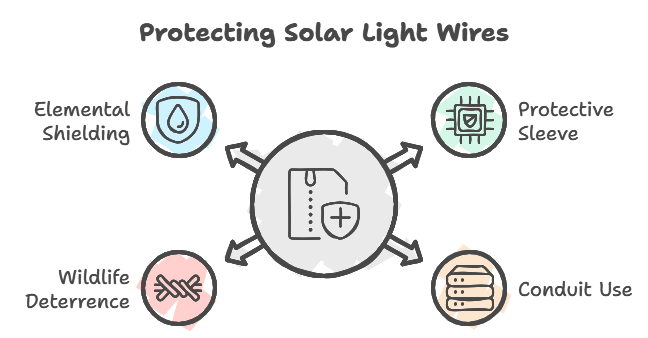
Not all solar lights are wired, but if yours are, you’ve got to be extra vigilant.
Pets and local wildlife can sometimes get a little too curious and nibble on those wires, which can lead to all sorts of issues.
I’ve come up with a simple hack to protect the wires from being damaged.
Every time I check my lights, I ensure to wrap any exposed wires with a protective sleeve or slip them into a bit of conduit.
This does a great job of keeping those wires out of sight and out of trouble, shielding them from critters and the weather too.
5. Perform Regular Battery Checks

Batteries are like the heart of your solar lights—they keep everything running smoothly.
It’s important to regularly check them for any signs of trouble, especially corrosion, which can mess with their ability to charge and dull your lights’ performance.
If you notice any white powdery stuff on the battery terminals, that’s corrosion.
Just grab a soft-bristle brush and gently scrub it off.
If it’s stuck on there, a little fine-grit sandpaper should do the trick and get those terminals clean, ensuring everything connects well and your lights stay bright.
And if the batteries look bad and beyond saving, then it’s time for a replacement.
I always opt for NiMH (Nickel Metal Hydride) batteries because they’re not only better for the environment than the older NiCd (Nickel-Cadmium) types, but they also last longer.
This means you won’t have to replace them as often, keeping your solar lights glowing strong without a lot of fuss.
FAQs
How to Seal Outdoor Solar Lights?
To seal outdoor solar lights, apply a clear, outdoor-grade silicone sealant around all seams and openings to protect against moisture and debris.
How to Protect Solar Lights?
To protect solar lights, regularly clean panels, seal gaps, trim nearby plants, and inspect for any damage to ensure maximum protection.
How to Make Solar Lights Stay On Longer?
To make solar lights stay on longer, optimize sunlight exposure by positioning lights away from shade and maintaining clean panels; use high-capacity batteries if needed.
How to Make Outdoor Lights Waterproof?
To make outdoor lights waterproof, use silicone sealant on all openings and edges to prevent water ingress and protect internal components.
Wrapping up
We’ve just gone through all the key steps to ensure your solar lights are sealed up tight and ready to glow for a long time.
Keeping them shining bright isn’t just about how you set them up; it’s also about giving them a little TLC regularly.
Just a quick check now and then to make sure everything’s in order can help you avoid the usual troubles caused by rain, wind, and sun.
This keeps your outdoor areas lit up nice and cozy every evening.
Do you have any questions on how to keep your solar lights in top shape, or need a hand with anything?
Just drop a comment or give us a shout—we’re here to help keep your nights bright!

